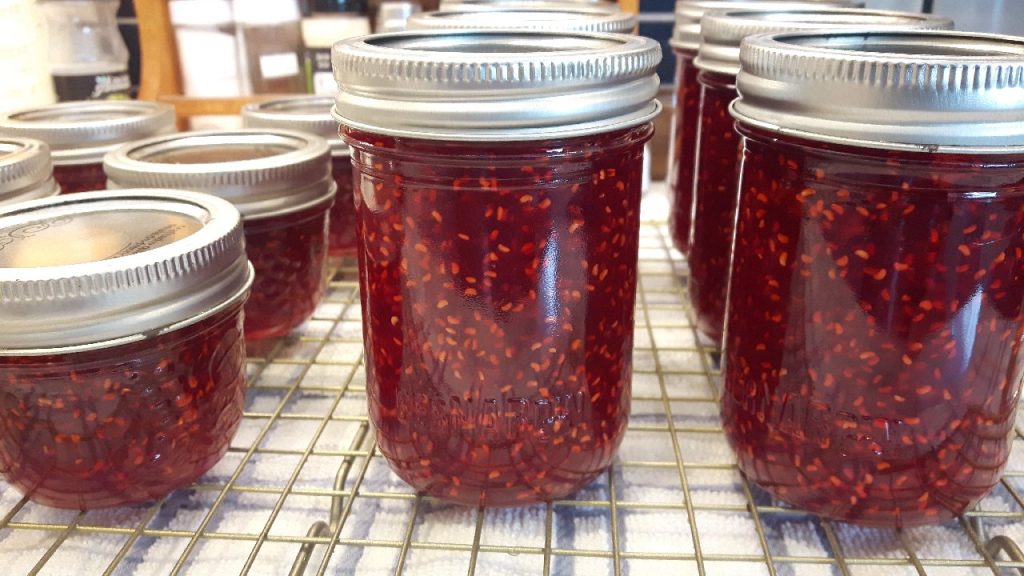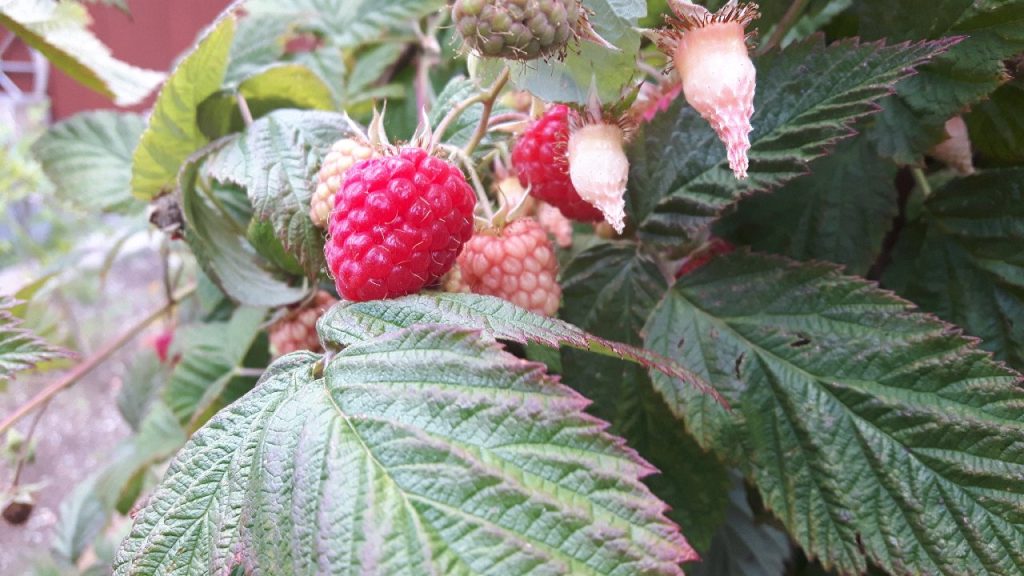
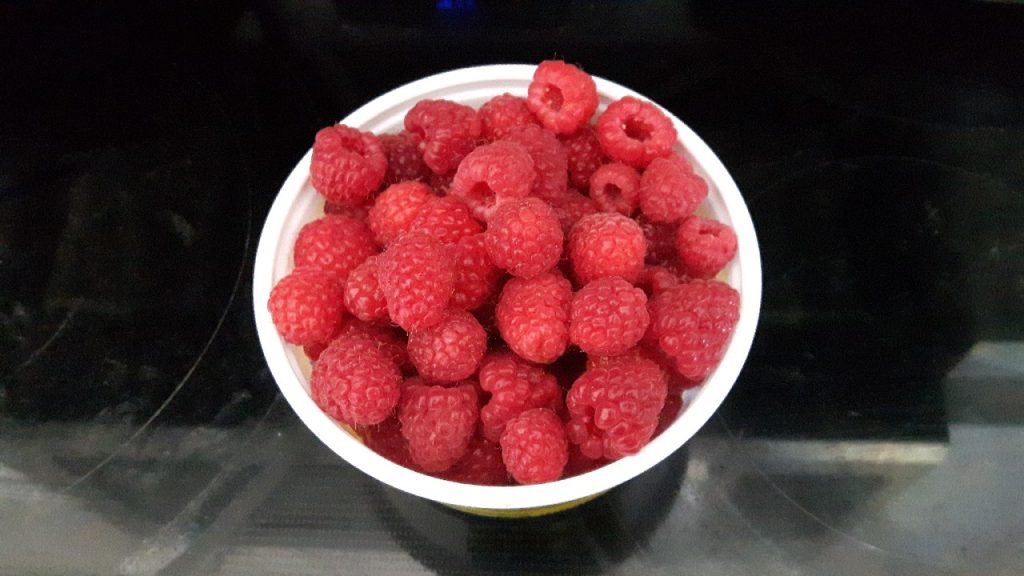
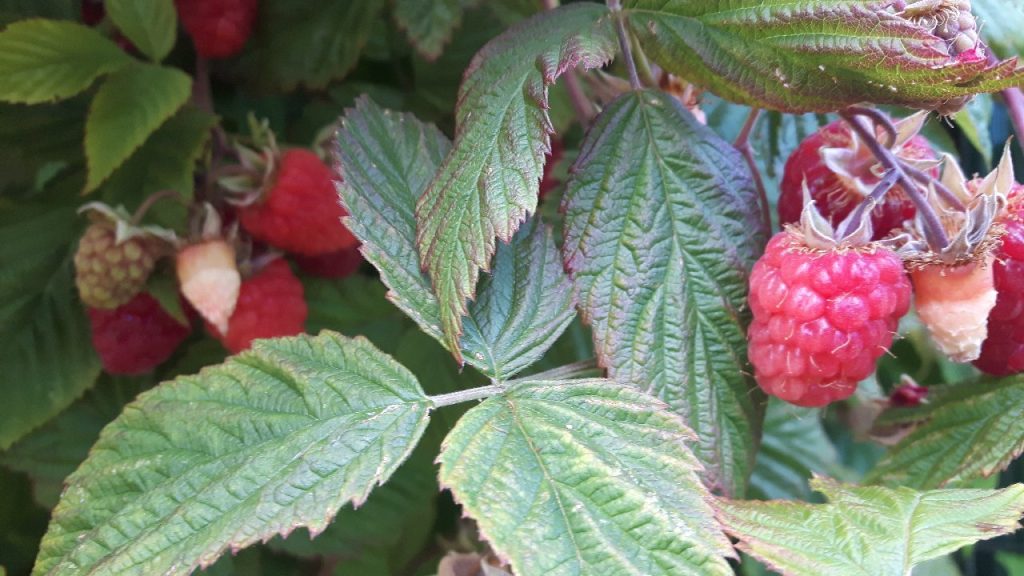
Because you want a shelf-stable canned jam, it’s important to follow a recipe that has been tested for safety. The recipe below is based on the methods recommended by the National Center for Home Food Preservation (NCHFP) and Bernardin (the Canadian authority for home canning). It uses powdered pectin and a boiling water bath.
Raspberry Jam (with seeds)
Makes approximately 10–12 half-pint (250 mL) jars, (This batch actually made 6 – 1/2 pint jars & 6 – 1/4 pint jars, for a total production of 4.5 pints).
Ingredients
- Approximately 3.0 L thawed raspberries (you will measure crushed fruit after thawing)
- 5 cups (1.25 L) crushed raspberries
- 1 box (57 g) Certo Crystals (powdered pectin)
- 7 cups granulated sugar
- 1 tsp bottled ReaLemon lemon juice (optional but recommended for consistent acidity)
- 1/2 tsp butter (optional, reduces foaming)
Do not reduce the sugar. Powdered pectin recipes depend on the full amount for proper gel and safe processing.
Before You Begin
Allow the raspberries to thaw overnight in the refrigerator.
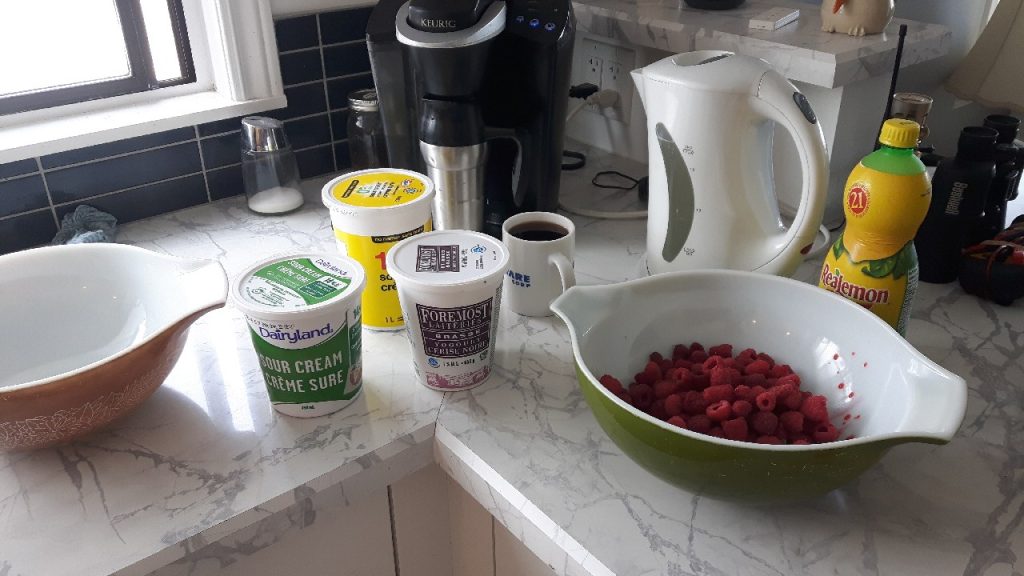
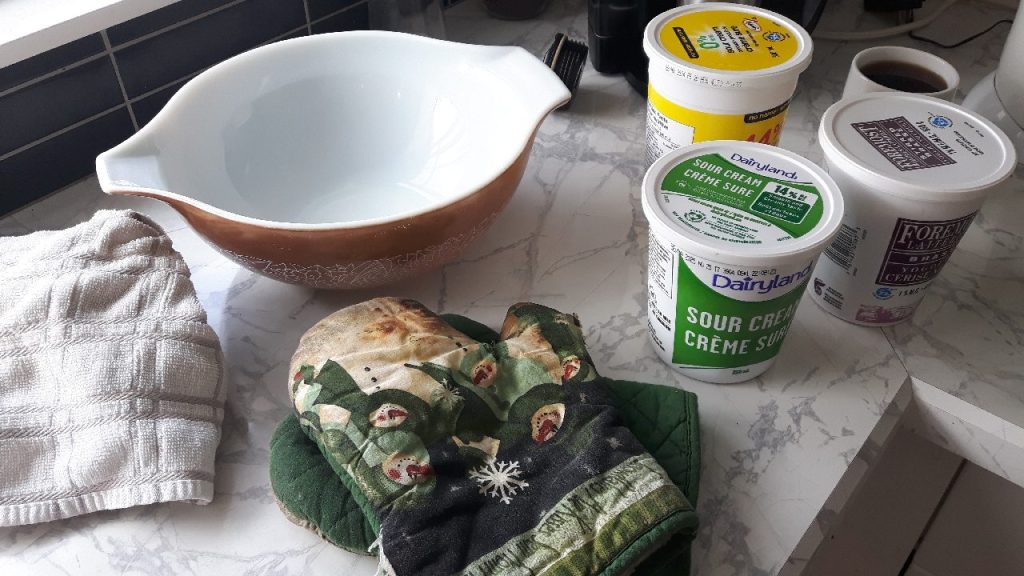
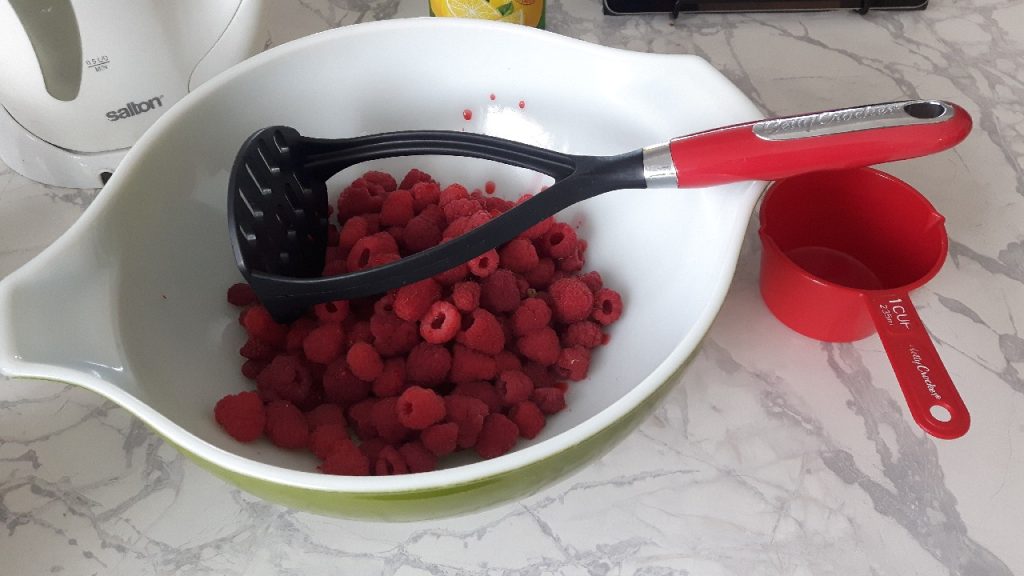
On Processing Day:
- Wash berries if they were not washed before freezing.
- Crush berries one layer at a time using a potato masher.
- Measure exactly 5 cups crushed fruit.
You may have extra fruit. Freeze it or use it for another purpose.
How much do I need to crush the berries?
You don’t need to purée them. For seeded raspberry jam, you want the berries lightly crushed so they release their juice but still have plenty of small pieces of fruit.
Here’s what to aim for:
- Mash the thawed raspberries with a potato masher a layer or two at a time.
- Crush until most of the berries are broken open, but you can still see many small pieces of raspberry. The seeds will, of course, remain.
- Avoid using a blender or food processor, as they will pulverize the fruit and seeds and change the texture.
A good visual guideline is that after crushing:
- There should be very few whole berries left.
- The mixture should look like a chunky, thick raspberry sauce rather than a smooth purée.
Then measure exactly 5 cups of the crushed fruit, including all the juice that comes from thawing and crushing. The juice is part of the fruit measurement in the tested recipe.
Since your berries were frozen, they’ll be quite soft once thawed, so you’ll probably only need 10–20 gentle presses with a potato masher per bowlful to get the right consistency.
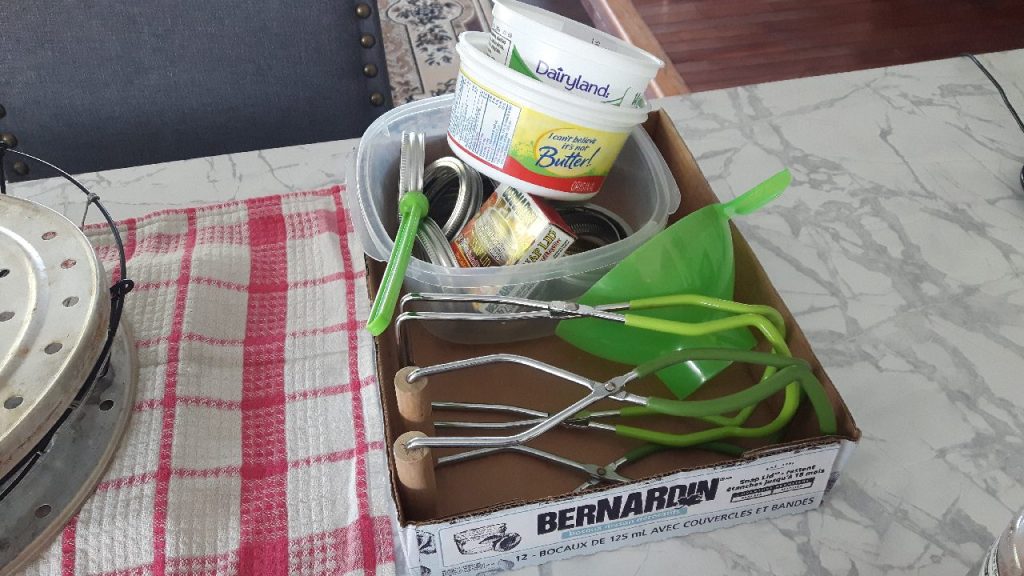
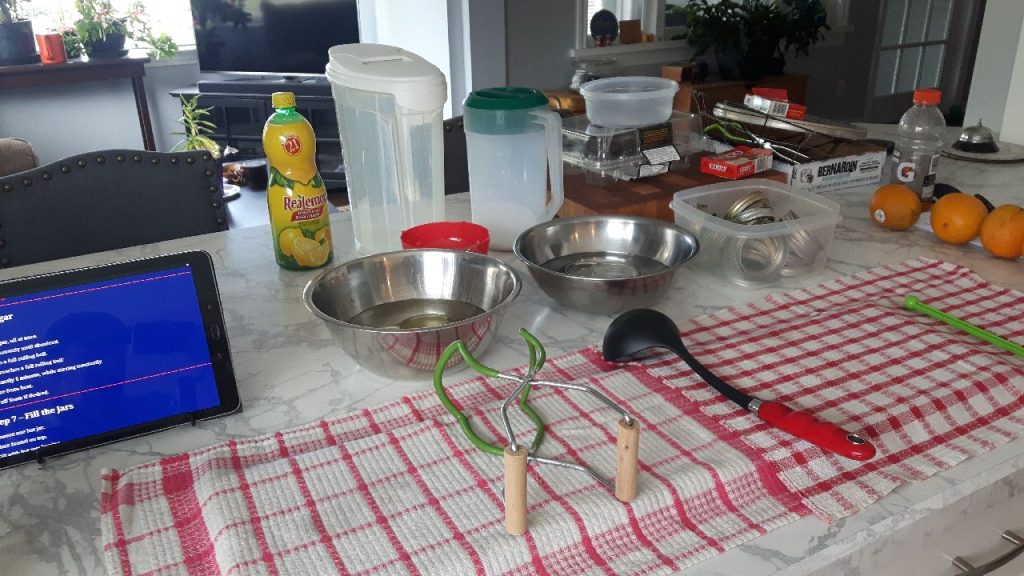
Equipment
- 10–12 half-pint jars
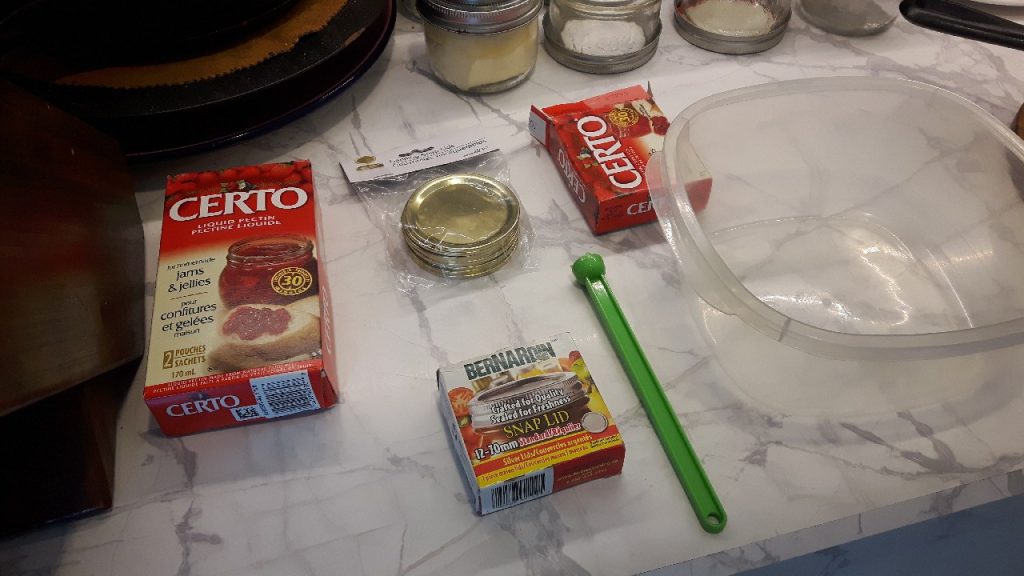
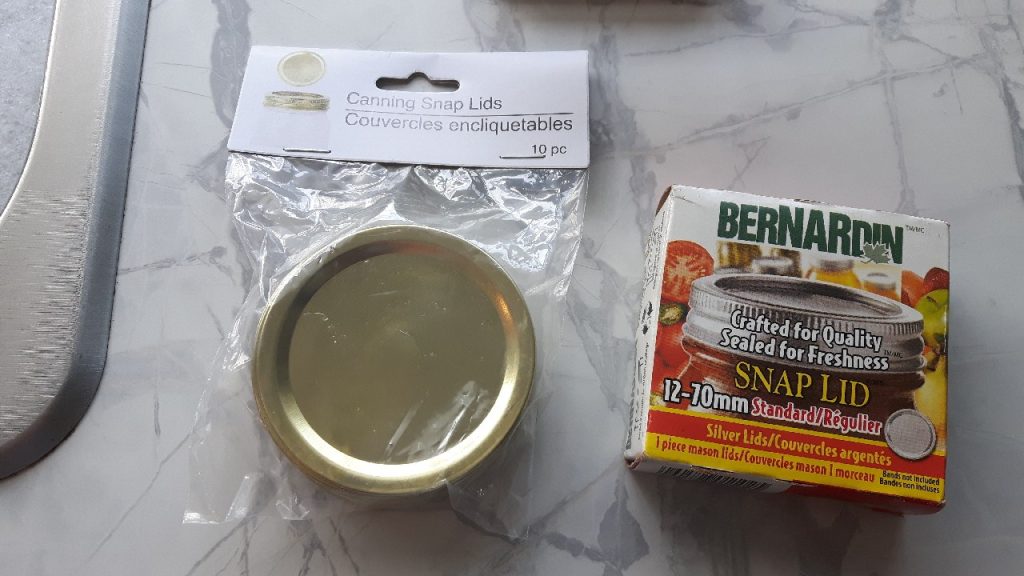
- New snap lids
- Screw bands
- Jar lifter
- Bubble remover or plastic spatula
- Magnetic lid wand (optional)
- Ladle
- Funnel
- Clean towels
- Water bath canner
- Second large pot with rack/trivet (if needed)
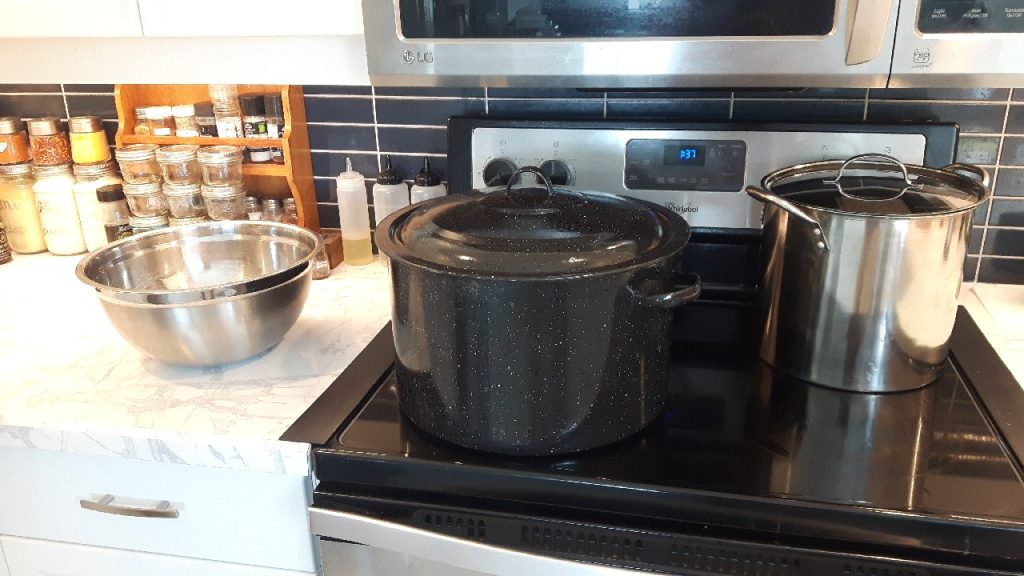
Step 1 – Inspect Jars
Inspect every jar for:
- cracks
- chips around the rim
- deep scratches
Discard any damaged jars.
Step 2 – Wash Everything
Wash:
- jars
- screw bands
- funnel
- ladle
- utensils
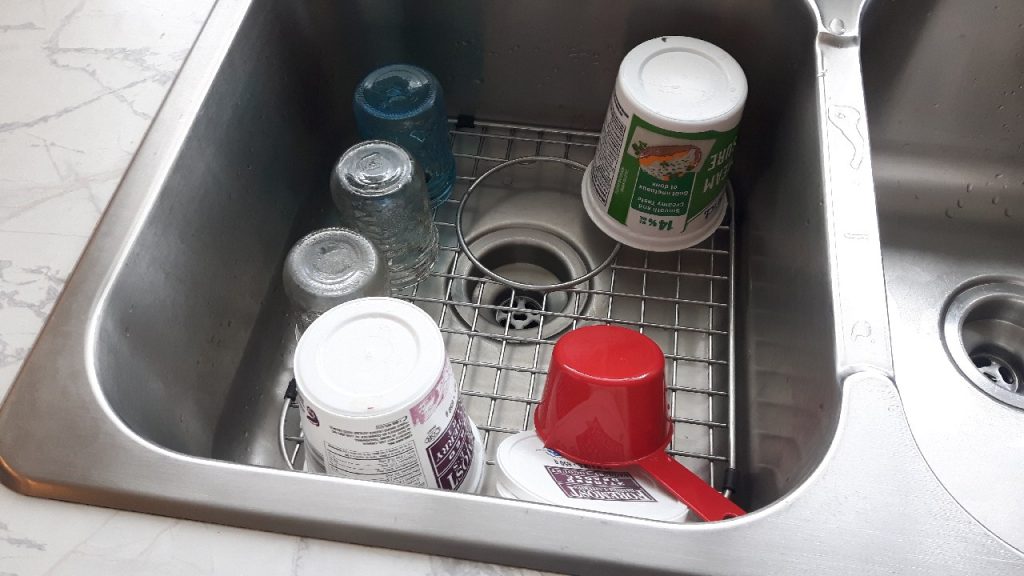
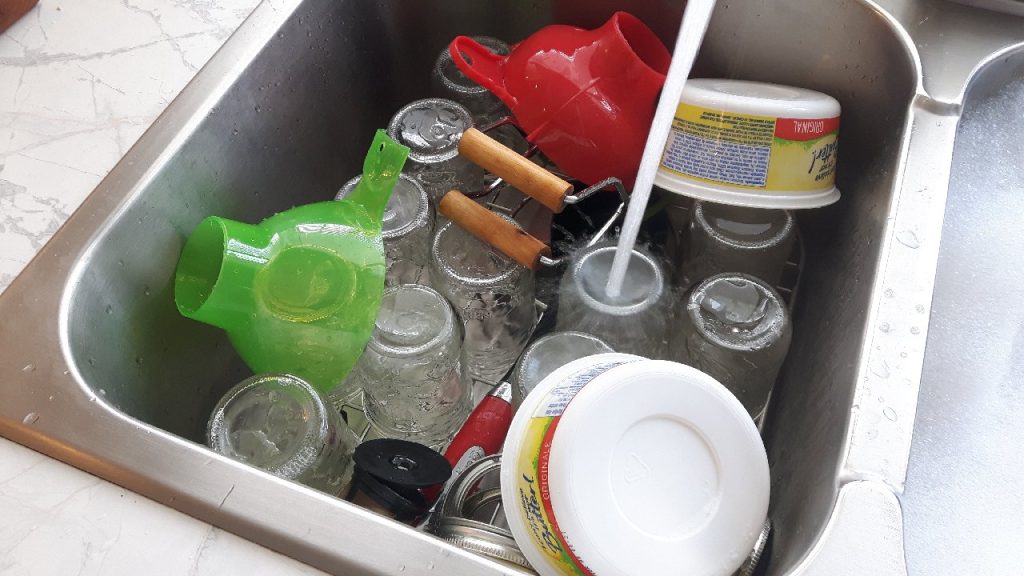
Use hot soapy water.
Rinse well.
Step 3 – Prepare the Jars
Since modern canning recommendations no longer require sterilizing jars when processing 10 minutes or longer, you only need to:
Place jars in the canner.
Cover with water.
Heat to about 180°F (82°C) (hot but not boiling).
Keep jars hot until filled.
Do not let them cool.
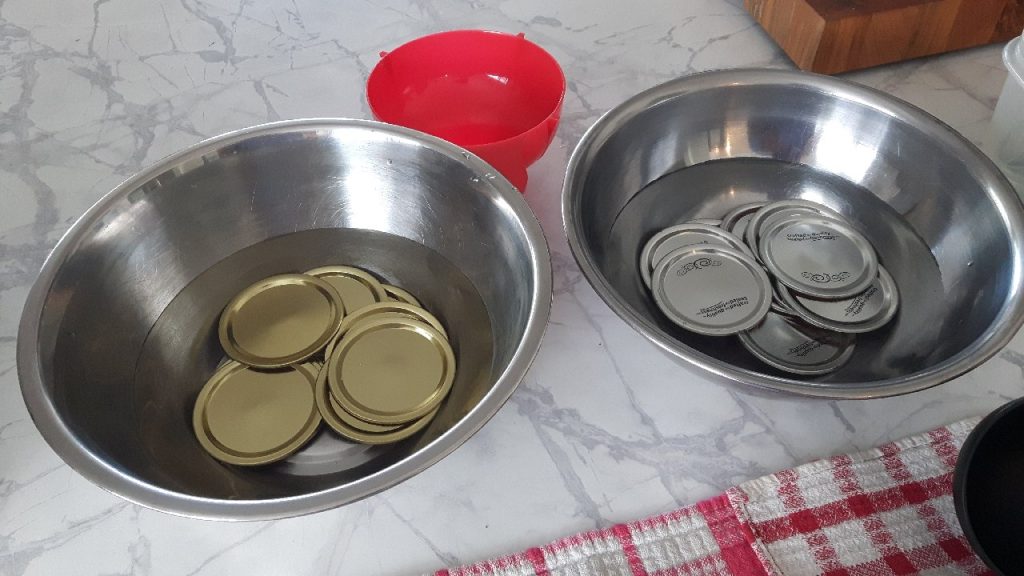
Step 4 – Prepare the Lids
Modern lids (Bernardin, Kerr, Ball) should not be boiled.
Instead:
Wash lids.
Place them in a small bowl.
Cover with hot tap water (about 180°F / 82°C).
Leave them there until needed.
Keep the screw bands at room temperature.
Step 5 – Prepare the Water Bath
Fill the canner about halfway.
Begin heating.
You want the water hot when the filled jars go in.
If using both canners:
Prepare both now.
Step 6 – Make the Jam
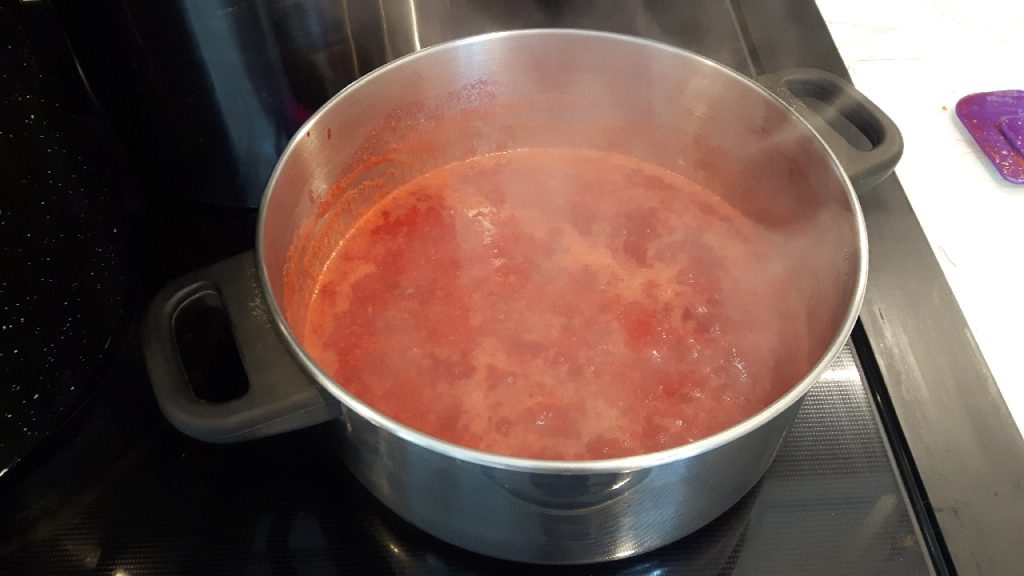
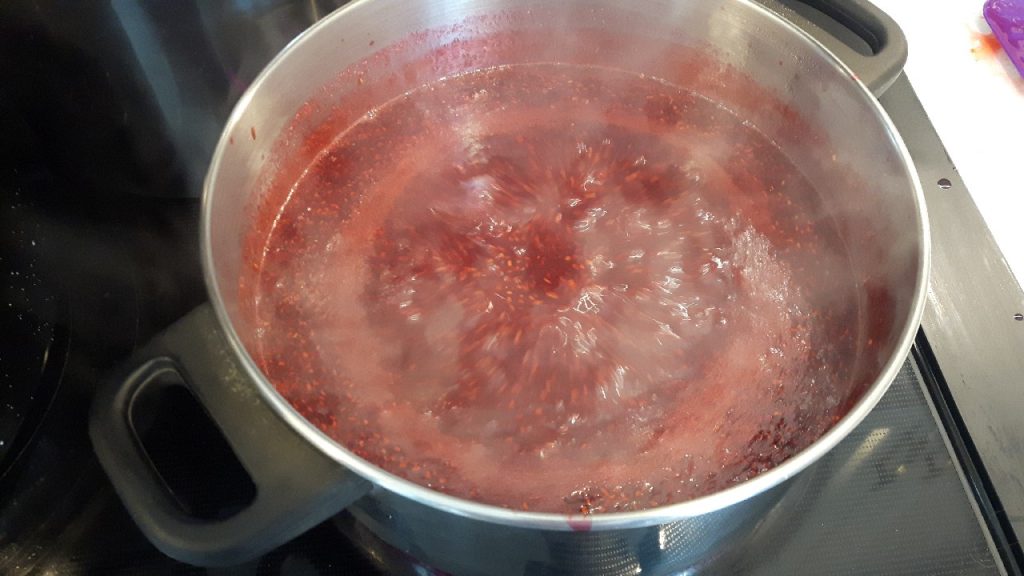
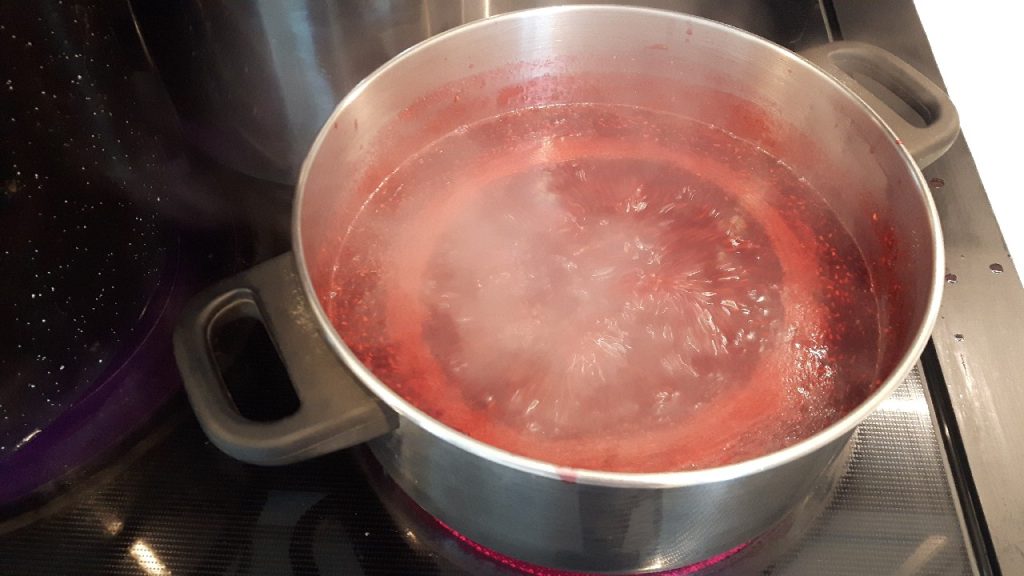
In a large heavy pot combine:
- 5 cups crushed raspberries
- entire 57 g package powdered Certo crystals
- 1 tsp. bottled REALEMON lemon juice
- 1/2 tsp. butter (optional) (Anti-Foaming)
Stir well.
Bring to a full rolling boil over high heat.
A rolling boil is one that cannot be stirred down.
Stir constantly.
Add Sugar
Add:
7 cups sugar, all at once.
Stir continuously until dissolved.
Return to a full rolling boil.
Once it reaches a full rolling boil:
Boil exactly 1 minute, while stirring constantly.
Remove from heat.
Skim off foam if desired.
Step 7 – Fill the Jars
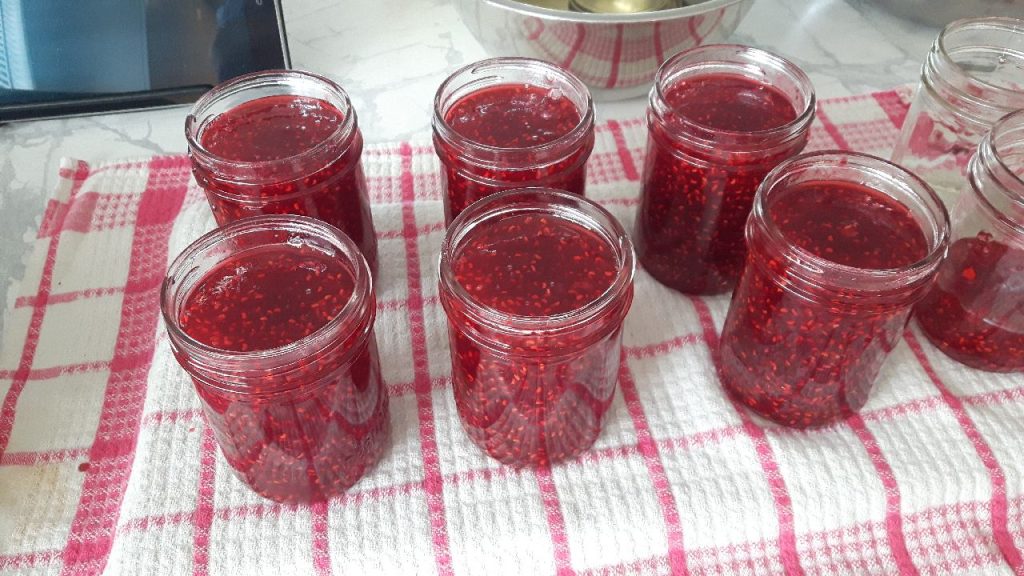
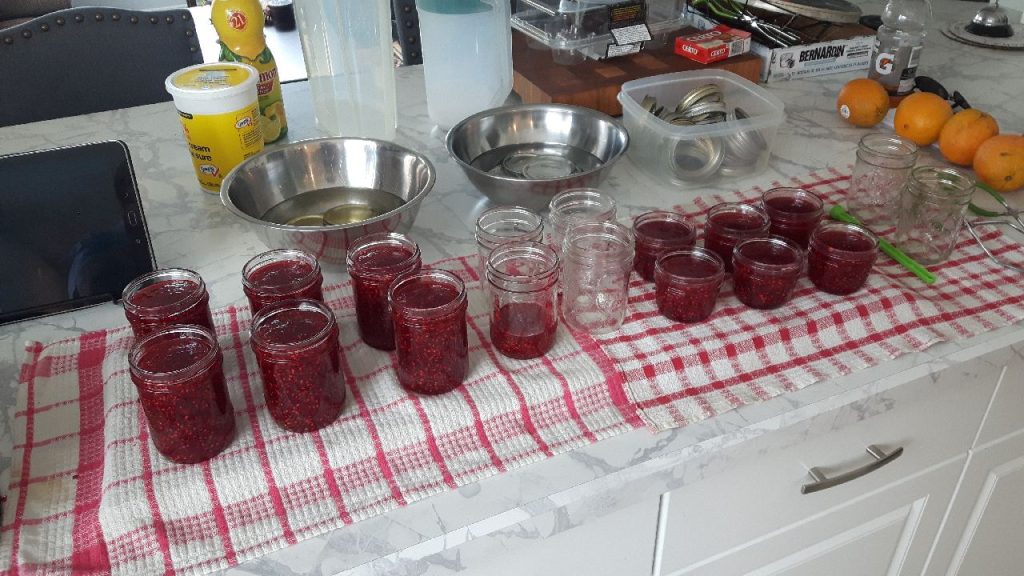
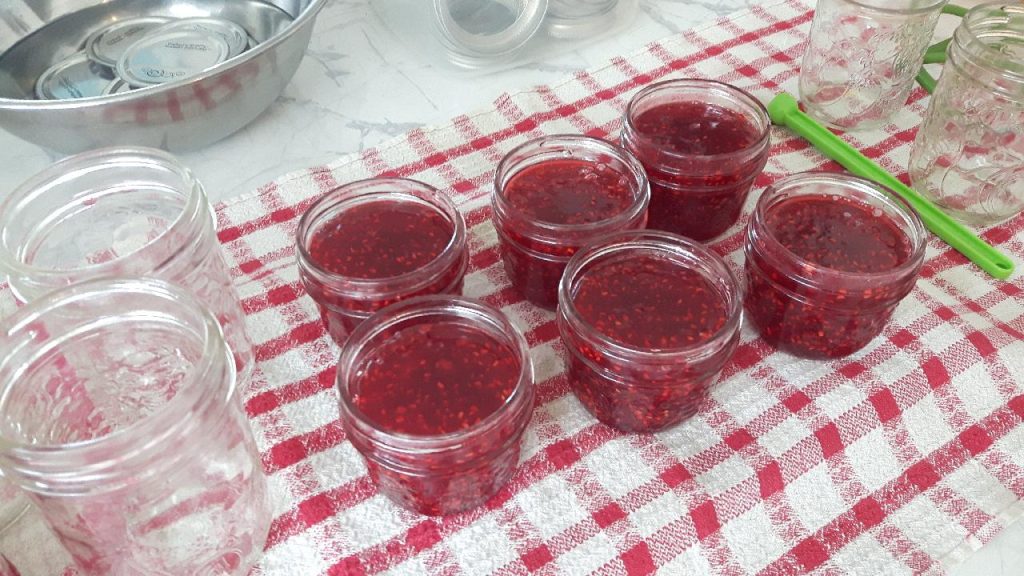
Remove one hot jar.
Place funnel on top.
Fill with hot jam leaving
1/4 inch (6 mm) headspace.
Repeat.
Step 8 – Remove Air Bubbles
Run a plastic bubble remover around the inside.
Do not use a metal knife.
Adjust headspace if needed.
Step 9 – Clean Rims
Wipe each rim with a clean damp paper towel or cloth.
The rim must be perfectly clean.
Step 10 – Apply Lids
Place lid centered. Apply screw band.
Tighten only until fingertip tight.
Do not wrench them tight.
Step 11 – Load the Canner
Place jars onto the rack.
Lower into boiling water.
Water should cover jars by 1–2 inches (2.5–5 cm).
Add boiling water if necessary.
Step 12 – Processing Time
Put the lid on the canner.
Bring to a vigorous boil.
Start timing only when the water reaches a full rolling boil.
For half-pint jars:
- 10 minutes if you are at elevations up to 1,000 ft (305 m) (this includes most coastal and southern areas of British Columbia).
If you lived above 1,000 ft, additional time would be required, but it is not necessary for your location.
What is the processing time for 1 pint jars?
For 1-pint (500 mL) jars of raspberry jam, the processing time is the same as for half-pint (250 mL) jars in a boiling water canner.
At your elevation (Coastal, BC, under 1,000 ft / 305 m):
- Half-pint (250 mL): 10 minutes
- Pint (500 mL): 10 minutes
A few reminders:
- Start timing only after the water has returned to a full rolling boil after the jars are loaded.
- Make sure the water covers the jars by at least 1 inch (2.5 cm) throughout processing.
- When the 10 minutes are up, turn off the heat, remove the canner lid, wait 5 minutes, then remove the jars and let them cool undisturbed for 12–24 hours.
If you end up with enough jam for one or two pint jars in addition to the half-pints, you can safely process them together in the same canner load for 10 minutes, since the required processing time is the same.
What is the proper processing times for 1/2 pint & 1 pint jars at different altitudes?
For raspberry jam made with powdered pectin, the tested processing times for both 1/2-pint (250 mL) and 1-pint (500 mL) jars are the same. The only adjustment is for altitude.
| Altitude | Processing Time |
|---|---|
| 0–1,000 ft (0–305 m) | 10 minutes |
| 1,001–3,000 ft (306–914 m) | 15 minutes |
| 3,001–6,000 ft (915–1,829 m) | 20 minutes |
| Above 6,000 ft (1,830 m+) | 25 minutes |
For your location
Coastal, British Columbia, so your processing time is:
- 1/2-pint (250 mL): 10 minutes
- 1-pint (500 mL): 10 minutes
A few important reminders
- Start timing only after the canner has returned to a full rolling boil.
- Keep the water at least 1 inch (2.5 cm) above the tops of the jars during the entire processing time.
- When the processing time is complete, turn off the heat, remove the canner lid, wait 5 minutes, then remove the jars and cool them undisturbed for 12–24 hours.
These times are consistent with current tested recommendations from the National Center for Home Food Preservation (NCHFP) and Bernardin for high-acid jams processed in a boiling water canner.
Step 13 – After Processing
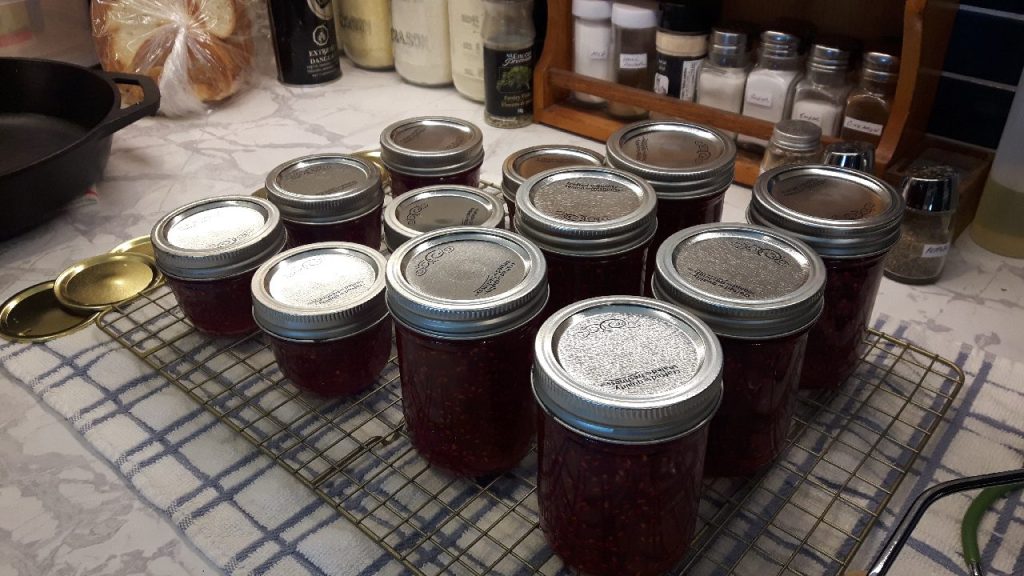
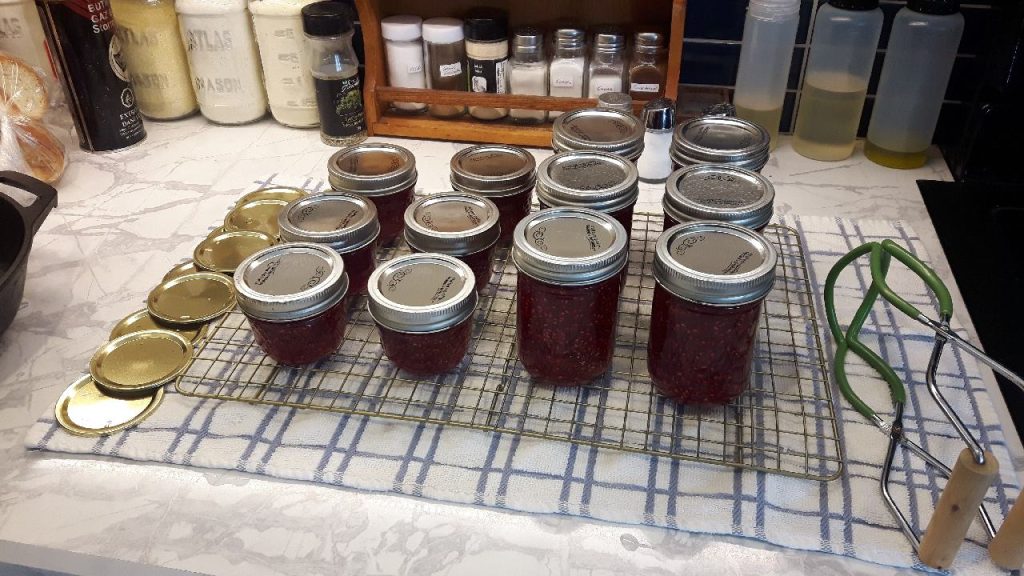
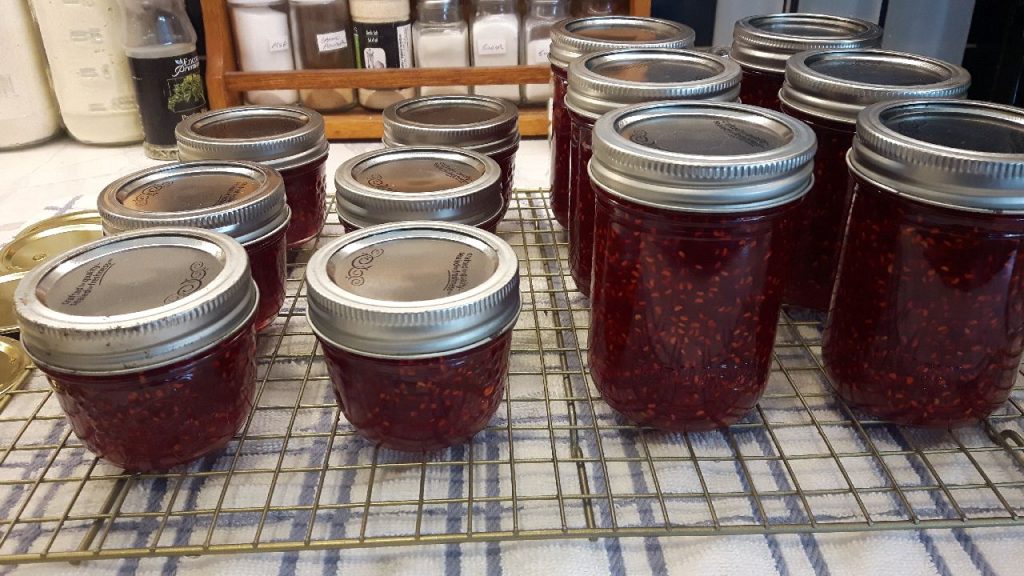
Turn off heat.
Remove canner lid.
Wait 5 minutes.
Lift jars straight up.
Do not tip them.
Place on towels.
Leave at least 1 inch between jars.
Step 14 – Cooling
Leave jars, 12–24 hours, undisturbed.
Do not:
- tighten rings
- press lids
- tip jars over
Step 15 – Check the Seals
After 12–24 hours:
Remove screw bands.
Check each lid.
A properly sealed lid:
- is slightly concave
- does not flex up and down
Any unsealed jar should be refrigerated and used within a few weeks, or frozen.
Step 16 – Clean and Store
Wash outside of sealed jars.
Dry thoroughly.
Label with:
- Raspberry Jam
- Date
Store without the screw bands in a cool, dark pantry.
Ideal storage temperature is 10–21°C (50–70°F).
Best quality is within 1 year, though properly sealed jars often remain safe longer if stored correctly.
Expected Yield
A standard batch using 5 cups crushed berries and one 57 g box of powdered pectin typically produces:
- 10–11 half-pint jars (I got 9 x 1/2 pint jars)
- occasionally 12, depending on berry juiciness and how much foam is removed.
With your approximately 3.1 L of frozen raspberries, you should have enough fruit for one full batch, with a little left over if your berries were particularly juicy.
A few additional safety tips
- Process only one batch at a time. Do not double the recipe, as this can prevent the jam from gelling properly.
- If you use both canners at once, make sure each canner reaches a full rolling boil before you start that canner’s processing time. Time each canner separately if necessary.
- Leave the rings off during storage after you’ve confirmed the seals. This helps you detect any seal failures during storage and prevents moisture from becoming trapped under the bands.
- If any jar later develops an unsealed lid, mold, unusual odor, spurting liquid when opened, or other signs of spoilage, discard the contents without tasting them.
Following these tested proportions and procedures will produce a safe, shelf-stable raspberry jam suitable for pantry storage.
If I am doing one pot at a time, I will do 7 jars, then do I need to reheat the mix when I do the final jars?
Yes. The remaining jam must be brought back to a full rolling boil before you fill the last jars.
Here’s the best way to handle it:
- Make the entire batch of jam according to the recipe.
- Fill your first 7 hot jars and put them into the canner.
- While those jars are processing, leave the remaining jam in the pot.
- If your stove has a warming burner, keep the pot over very low heat, stirring occasionally so it doesn’t scorch.
- If it starts to thicken as it sits, that’s normal.
- Just before you’re ready to fill the remaining jars, increase the heat and stir until the jam returns to a full rolling boil.
- Fill the remaining hot jars, wipe the rims, apply the lids and rings, and process them for the full 10 minutes (starting when the water returns to a full boil).
A few additional tips:
- Keep your remaining empty jars hot while the first batch is processing so they don’t crack when filled.
- Don’t let the jam simmer for a long time after it’s finished cooking. Just reheat it to a boil for filling. Prolonged cooking can make the jam darker and thicker than desired.
- It’s perfectly acceptable to process one canner load after the other. Many home canners do exactly that.
With a typical yield of 10–11 half-pint jars, you’ll likely have only 3 or 4 jars in the second load, so reheating the remaining jam once just before filling those jars is the recommended approach.
How would this recipe be affected by having a smaller or larger amount of berries to start with? For example, what if I only had 2 Liters of berries? or What if I had 4 Liters of berries? How would this recipe need to be changed?
This is a great question, and it’s one that often causes confusion.
The key point is that the recipe is based on the amount of measured crushed fruit, not on how many litres of whole berries you start with. Frozen berries, especially after thawing, can vary quite a bit in how much juice they release, so 2 L or 4 L of berries won’t always produce the same amount of crushed fruit.
Here’s how to think about it:
If you have about 2 L of berries
After thawing and crushing, you’ll probably end up with around 3 to 4 cups of crushed fruit, which is not enough for the tested recipe calling for 5 cups.
Your options are:
- Best option: Freeze the crushed fruit until you have enough to make a full 5-cup batch.
- Or: Find a tested small-batch recipe specifically developed for 3 or 4 cups of fruit. Don’t simply reduce the ingredients yourself.
If you have about 4 L of berries
After thawing and crushing, you’ll likely have more than 5 cups of crushed fruit.
In that case:
- Measure out exactly 5 cups and make one batch.
- Save the remaining crushed fruit for another batch (freeze it if necessary).
This is the recommended approach because powdered pectin jam recipes should not be doubled. Larger batches often don’t gel properly because the cooking time changes.
Can you simply scale the recipe?
For powdered pectin recipes, the answer is generally no. Home canning authorities recommend making one batch at a time using the tested proportions.
For example, if you had 10 cups of crushed fruit, it might seem logical to use:
- 2 boxes of pectin
- 14 cups sugar
But that larger batch is much more likely to:
- fail to gel,
- overcook,
- or produce inconsistent results.
Instead, make two separate batches, each with:
- 5 cups crushed fruit
- 1 box (57 g) powdered pectin
- 7 cups sugar
What if I want to use all the fruit?
If you start with more fruit than needed, simply make multiple batches one after the other. Many experienced canners do exactly that.
A handy guide
| Amount of thawed/crushed fruit | What to do |
|---|---|
| Less than 5 cups | Use a tested smaller recipe or freeze until you have enough. |
| Exactly 5 cups | Make one batch. |
| 6–9 cups | Make one batch and save the remainder. |
| 10 cups | Make two separate batches. |
| 15 cups | Make three separate batches. |
The safest and most reliable habit is to always thaw, crush, and measure the fruit first, then choose a tested recipe that matches the amount of crushed fruit you actually have. That way, the pectin-to-fruit-to-sugar ratio stays exactly as intended, giving you the best chance of a good gel and a safe, shelf-stable jam.
What if I wanted to use Certo Liquid Pectin which comes in a box marked “2 Packets 170 ml”, how would this affect the recipe and what would I need to do differently?
Using Certo Liquid Pectin is not just a matter of substituting it for powdered pectin. The two products work differently, so the recipe and the order of mixing the ingredients are different.
Here’s what changes.
The ingredients
For a standard tested liquid pectin raspberry jam recipe, you would use:
- 4 cups crushed raspberries
- 7 cups granulated sugar
- 1 pouch (85 mL) Certo Liquid Pectin (your 170 mL box contains 2 pouches, so you would use one pouch per batch)
- 1/2 tsp butter (optional)
- Bottled lemon juice is generally not required for a tested raspberry jam recipe.
Notice the biggest difference:
| Powdered Pectin | Liquid Pectin |
|---|---|
| 5 cups crushed berries | 4 cups crushed berries |
| 7 cups sugar | 7 cups sugar |
| 57 g powdered pectin | 1 pouch (85 mL) liquid pectin |
So, with liquid pectin, you use less fruit for the same amount of sugar.
The cooking order is completely different
Powdered pectin (what you’re using now)
- Fruit + powdered pectin
- Bring to a boil.
- Add sugar.
- Boil 1 minute.
Liquid pectin
- Put the crushed berries in the pot.
- Add all 7 cups of sugar.
- Bring to a full rolling boil while stirring.
- Boil 1 minute.
- Remove from the heat.
- Immediately stir in one pouch (85 mL) of liquid pectin.
- Stir thoroughly for about 1 minute.
- Fill jars immediately.
Notice that liquid pectin is added after cooking, not before.
Processing
Everything else remains the same:
- 1/4-inch headspace
- Hot jars
- Finger-tight bands
- Boiling-water canner
- 10 minutes at your elevation
Which is better?
Both make excellent jam, but there are some practical differences:
Powdered pectin
Pros
- More forgiving.
- Better for frozen fruit.
- Often produces a slightly firmer set.
- Easier to find tested recipes from Bernardin and the National Center for Home Food Preservation.
Cons
- Must be mixed carefully to avoid lumps.
Liquid pectin
Pros
- No risk of pectin lumps.
- Often gives a slightly brighter fresh-fruit flavour because it isn’t boiled as long after the pectin is added.
Cons
- The set can be a little softer.
- The timing is more critical because the pectin is stirred in after cooking.
Your 170 mL box
One box contains:
- 2 × 85 mL pouches
That means you can make two separate batches of raspberry jam, each using:
- 4 cups crushed berries
- 7 cups sugar
- 1 pouch liquid Certo
If you have enough fruit, you would make one batch at a time, not a double batch.
One final note: if you decide to use liquid pectin in the future, follow a tested recipe written specifically for liquid pectin (such as one from Bernardin or Certo). Even though both products are pectin, the formulations and cooking methods are different enough that substituting one for the other can lead to a runny or overly firm jam.
How about the math on costs? Canadian prices. Pectin crystals are about $5.00 a box. mason jar lids are about 50 cents each, sugar is about $17.00 for 20 pounds, lemon juice is about $4.00 a bottle. I can buy 500 ml jars of commercial raspberry jam for about $4.50 each. Do the math, compare a dozen 1/2 pint jars made at home to the equivalent amount of store bought product. How does it all work out?
Let’s do the math using your approximate Canadian prices. I’ll assume the raspberries are home-grown or picked by you, so I’ll treat the fruit as having no direct cash cost (not counting your time, fuel, freezer electricity, etc.).
Batch size
A dozen 1/2-pint (250 mL) jars equals:
- 12 × 250 mL = 3.0 L of jam
That’s equivalent to 6 commercial 500 mL jars.
Home-made jam costs
Pectin
- 1 box = $5.00
Sugar
A 20 lb bag is about 9.07 kg and costs $17.00.
Your recipe uses 7 cups of sugar.
One cup of granulated sugar weighs about 200 g, so:
- 7 cups ≈ 1.4 kg
Cost:
- $17 ÷ 9.07 kg = $1.87/kg
- 1.4 kg × $1.87 = about $2.62
Lids
12 lids × $0.50 = $6.00
(Rings and jars are reusable, so they’re not included.)
Lemon juice
A teaspoon (5 mL) is only a tiny fraction of a bottle.
Even if a bottle is 440–500 mL, the cost is roughly:
- about $0.05
Butter
1/2 teaspoon is essentially negligible.
Call it:
- $0.03
Total ingredient cost
| Item | Cost |
|---|---|
| Pectin | $5.00 |
| Sugar | $2.62 |
| Lids | $6.00 |
| Lemon juice | $0.05 |
| Butter | $0.03 |
| Total | $13.70 |
Round it to about $14.00 per batch.
Cost per jar
$13.70 ÷ 12 jars =
$1.14 per 250 mL jar
Commercial equivalent
Your batch equals:
- 6 jars × 500 mL
At $4.50 each
6 × $4.50 = $27.00
Savings
| Home | Store | |
|---|---|---|
| Total | $13.70 | $27.00 |
Savings:
$13.30 per batch
or almost 50% less.
If you had to buy the jars
A dozen new Bernardin jars might cost around $18–22.
But since they’re reusable, that cost gets spread over many years.
For example:
If each jar is reused 20 times, the jar itself costs only about
8–10 cents per batch per jar.
If you value your berries
This changes everything.
If raspberries cost:
- $8/kg
- and your batch used roughly 2 kg
then add another $16.
Your homemade batch would then cost about $30, making it similar to buying commercial jam.
However, since your berries are freshly picked, that’s not really the comparison you’re making.
What the numbers don’t capture
Homemade jam also gives you:
- Higher fruit content than many economy brands.
- No preservatives.
- Better fresh raspberry flavour.
- Control over ingredients.
- The satisfaction of preserving your own harvest.
Bottom line
Using your prices and free home-picked raspberries, a batch of 12 half-pint jars (3 L total) costs about $14 in consumable supplies, or about $1.15 per jar.
The equivalent amount of commercial jam (six 500 mL jars) costs about $27, so you save about $13 per batch while getting a product that many people consider superior in flavour and quality.
One additional observation: the biggest single consumable cost is actually the new lids, at $6.00 for the batch. The pectin is next at $5.00, while the sugar is only about $2.60. If lid prices continue to rise, they’ll become an increasingly significant part of the cost of home canning.
Let’s talk about the health of jam as a food or condiment! People like jam, it feels and appears to be healthy because it’s fruit, but isn’t it just a huge batch of sugar with fruit flavoring? Is it good for you?
That’s a thoughtful question, and the honest answer is: jam is both fruit and a high-sugar preserve. It’s not a health food, but it’s not “just sugar” either.
What’s actually in jam?
A typical raspberry jam made with a standard powdered pectin recipe contains roughly:
- 5 cups crushed raspberries
- 7 cups sugar
That sounds like an enormous amount of sugar—and it is. However, the finished jam also contains all of the raspberry pulp, juice, seeds, fiber, organic acids, pigments, and many of the fruit’s natural compounds.
During cooking, the water in the fruit evaporates, so the sugar concentration becomes high enough to:
- preserve the jam,
- help it gel with the pectin,
- and inhibit the growth of spoilage microorganisms.
In other words, jam is a fruit preserve, not simply fruit with sugar sprinkled on it.
Nutritionally
Raspberry jam still contains:
- some dietary fiber (especially with the seeds left in),
- minerals such as manganese and a little potassium,
- polyphenols and anthocyanins, which are antioxidant compounds responsible for the berries’ deep red color,
- and a small amount of vitamin C, though much of it is lost during cooking.
Compared with fresh raspberries, however, the nutritional profile changes dramatically because of the added sugar.
The sugar content
One tablespoon (about 20 g) of regular raspberry jam typically contains approximately:
- 50–60 calories
- 12–14 g of sugar
For comparison:
- 12 g of sugar is about 3 teaspoons.
- Health organizations generally recommend limiting free sugars. For example, the World Health Organization recommends keeping free sugars below 10% of daily calories, with less than 5% offering additional health benefits.
So if someone spreads several tablespoons of jam on toast every morning, the sugar intake adds up quickly.
Is homemade better?
Homemade jam often has advantages over inexpensive commercial jam:
- You know exactly what’s in it.
- It may contain a higher proportion of fruit.
- It won’t contain preservatives or artificial colours.
- The flavour is usually fresher and more intense.
But nutritionally, a standard homemade jam made with 7 cups of sugar is still a high-sugar food.
Is it “healthy”?
That depends on how you use it.
If jam is:
- a thin layer on whole-grain toast,
- stirred into plain yogurt,
- or used occasionally on scones or pancakes,
it’s a perfectly reasonable treat for most people.
If it’s eaten in large amounts every day, it’s contributing a significant amount of added sugar without providing the same nutrition as whole fruit.
What about low-sugar jam?
Modern pectins (such as low- or no-sugar pectins) allow recipes that use much less sugar while still producing a good gel. These jams:
- taste more like fresh fruit,
- contain fewer calories,
- and generally retain the same safety when made using a tested recipe.
The trade-off is that they often have a shorter shelf life after opening and a slightly different texture.
One interesting comparison
People often think of jam as being “mostly sugar,” but the serving size matters. One tablespoon of jam contains about the same amount of sugar as:
- a tablespoon of maple syrup,
- or slightly less than a tablespoon of honey.
The difference is that jam also contributes fruit solids, fiber (especially seeded raspberry jam), and fruit flavor. It’s best thought of as a sweet condiment, similar to honey or maple syrup, rather than a serving of fruit.
In summary: Homemade raspberry jam is a delicious way to preserve a harvest and does retain some of the qualities of the fruit, but it’s still a concentrated, high-sugar preserve. Enjoyed in moderation, it can certainly be part of a balanced diet—but it’s not a substitute for eating fresh raspberries.